
Wondering how to apply false lashes for beginners without all the fuss? This guide will walk you through the simple steps to prep, apply, and care for your false lashes so you can get that flawless look. By the end, you’ll be feeling confident and ready to make your eyes pop!
Key Takeaways
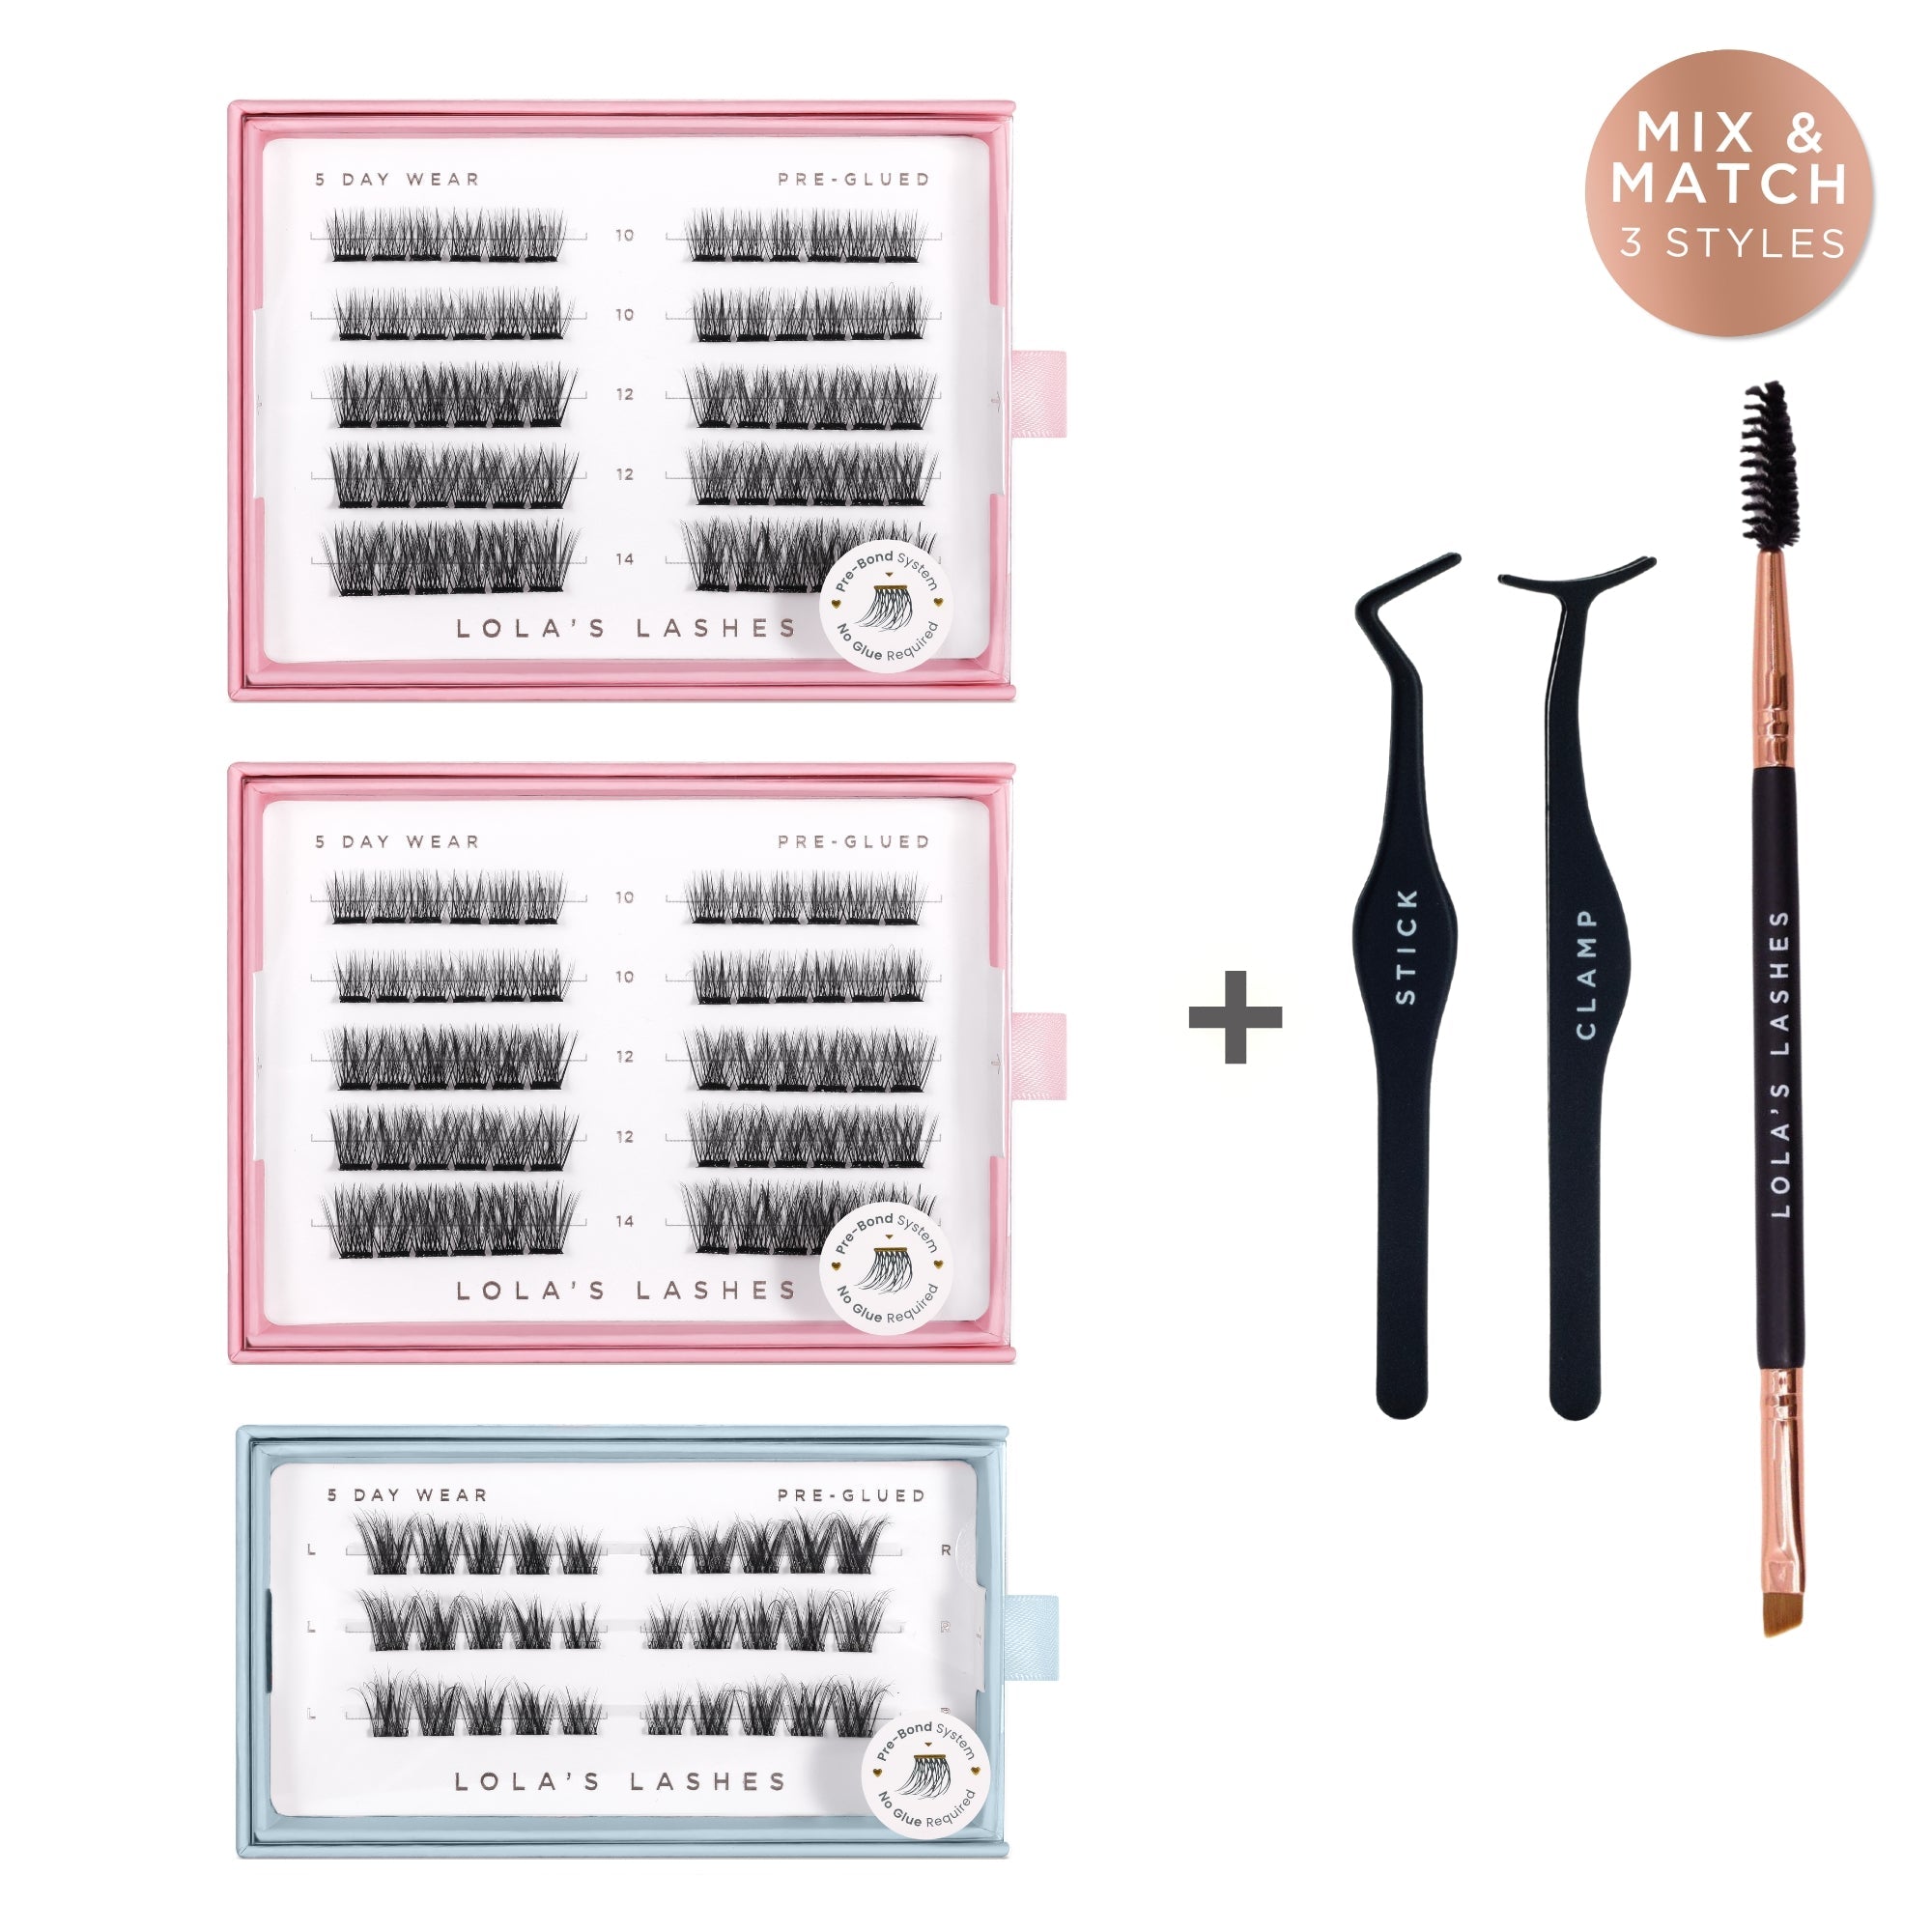
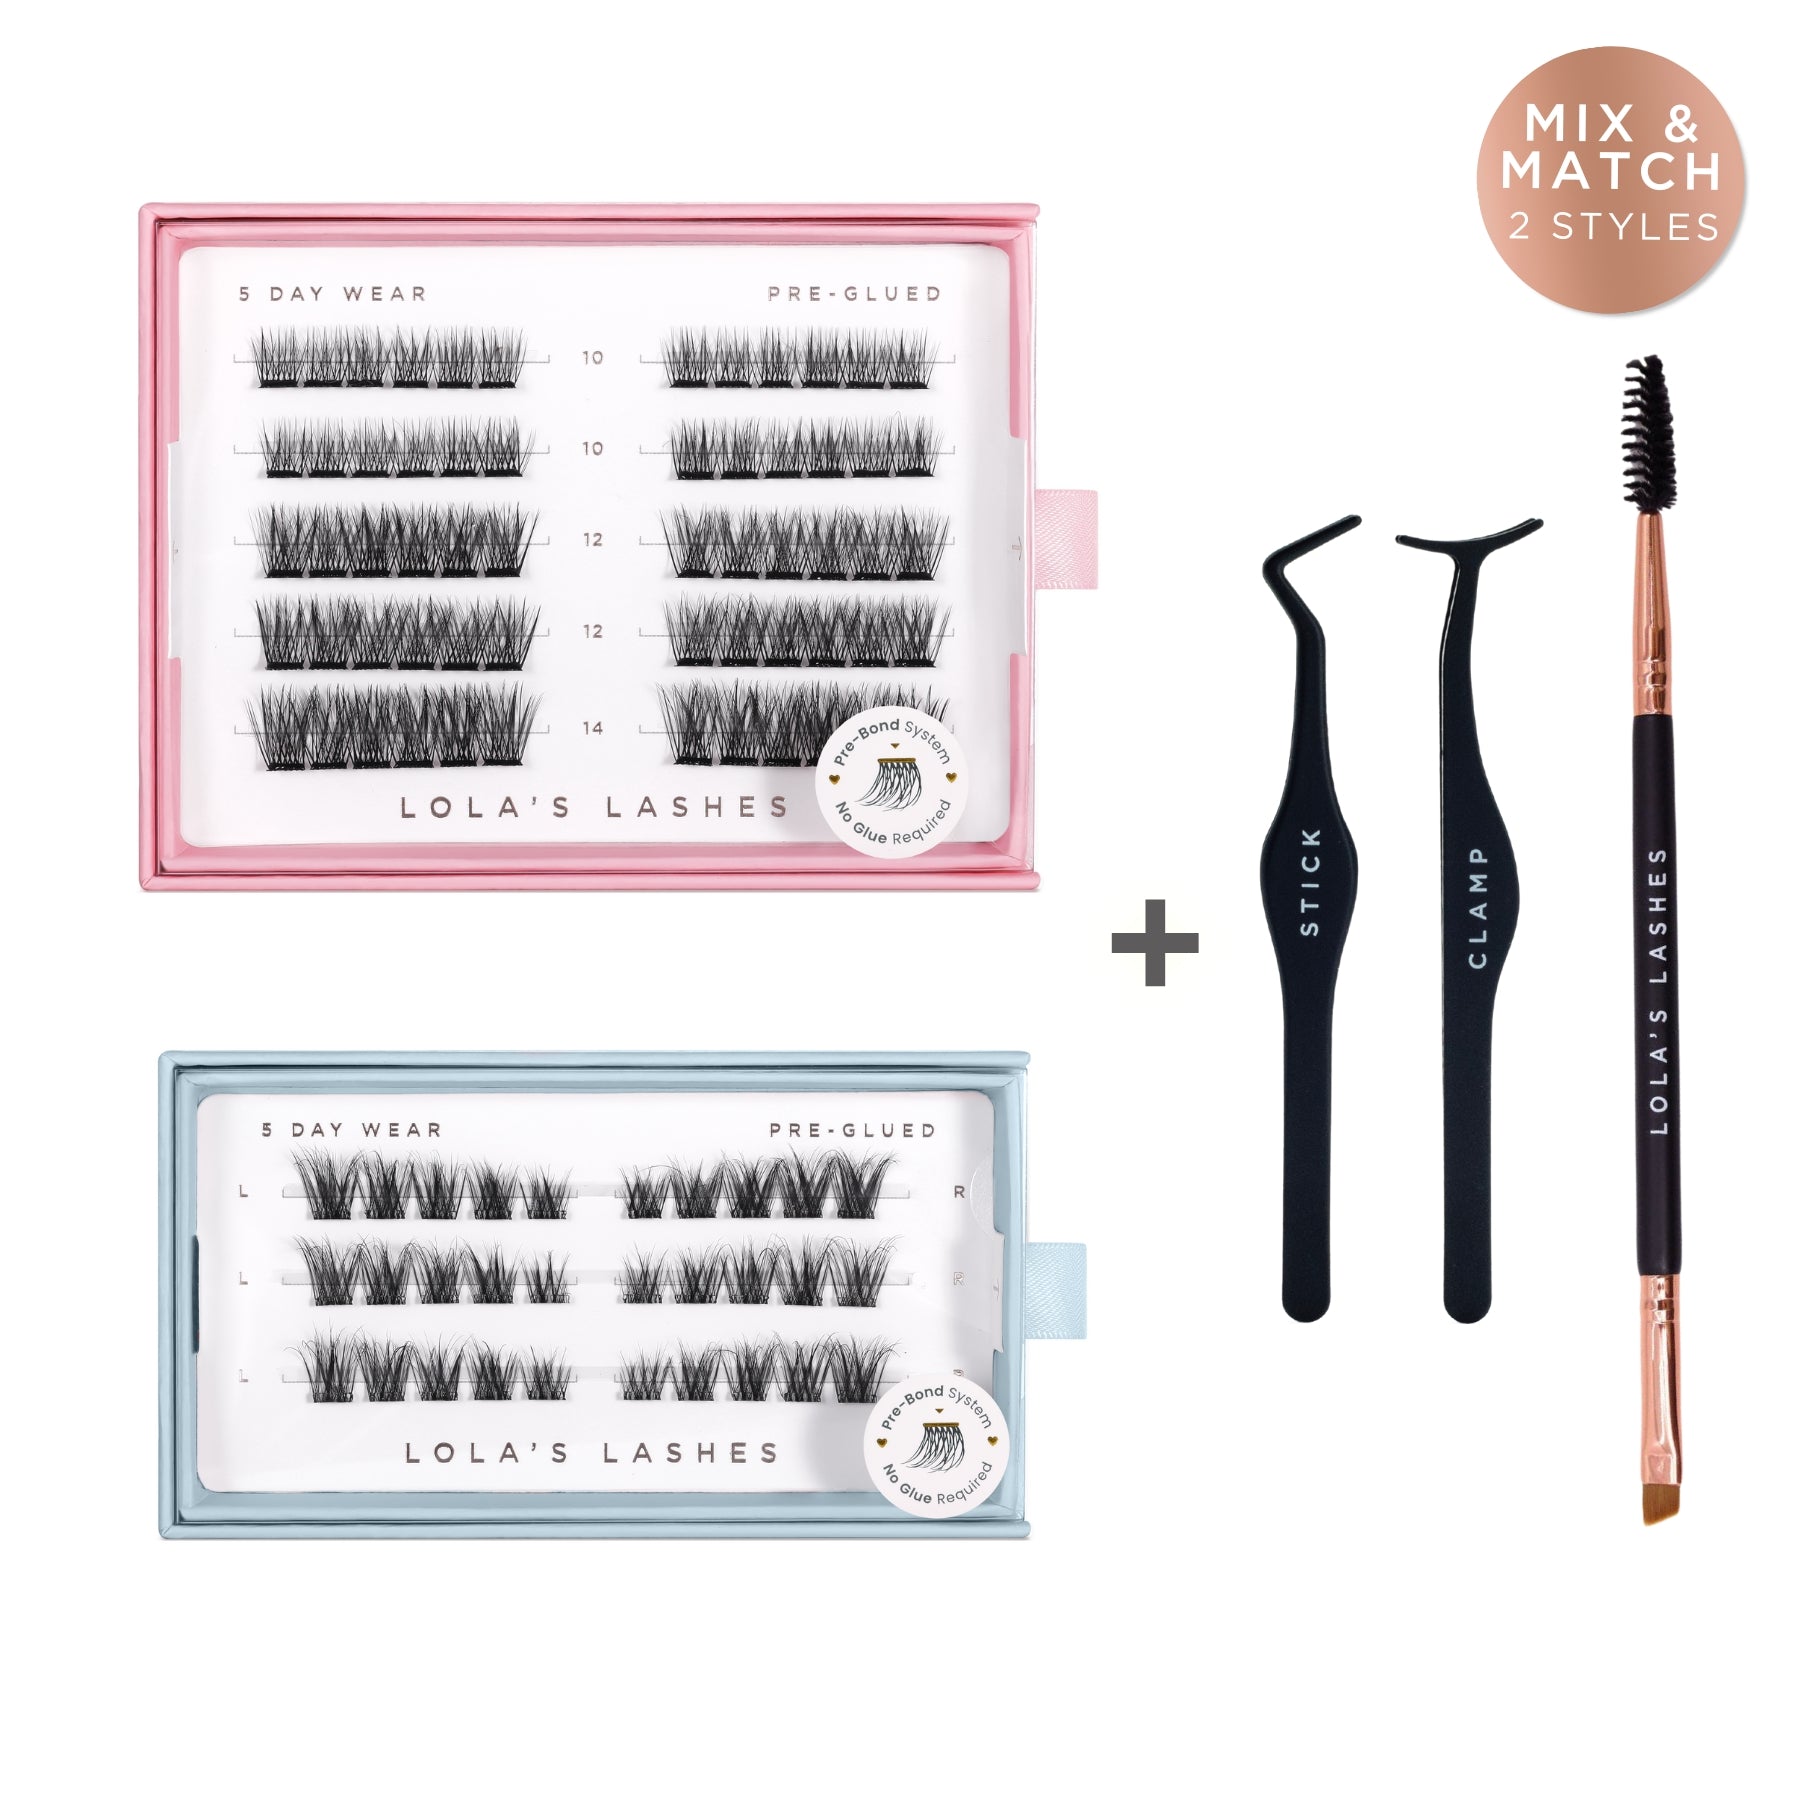
Pre-glued false lashes are brilliant for beginners because they skip the messy glue and make application super easy.
- Getting your natural lashes ready—like cleaning them and avoiding oily products—is key to making your false lashes stick and last longer.
- Taking care of your lashes after applying them helps keep them looking great, like avoiding water for a day or two, avoiding oil based cleansers and re-clamping in the mornings and evenings.
Beginner’s Guide: How to Apply False Lashes
Welcome to the wonderful world of fake lashes! If you’re new to this, don’t worry—you’ve come to the right place. This guide is easy to follow and will give you all the tips you need to apply false eyelashes like a pro.
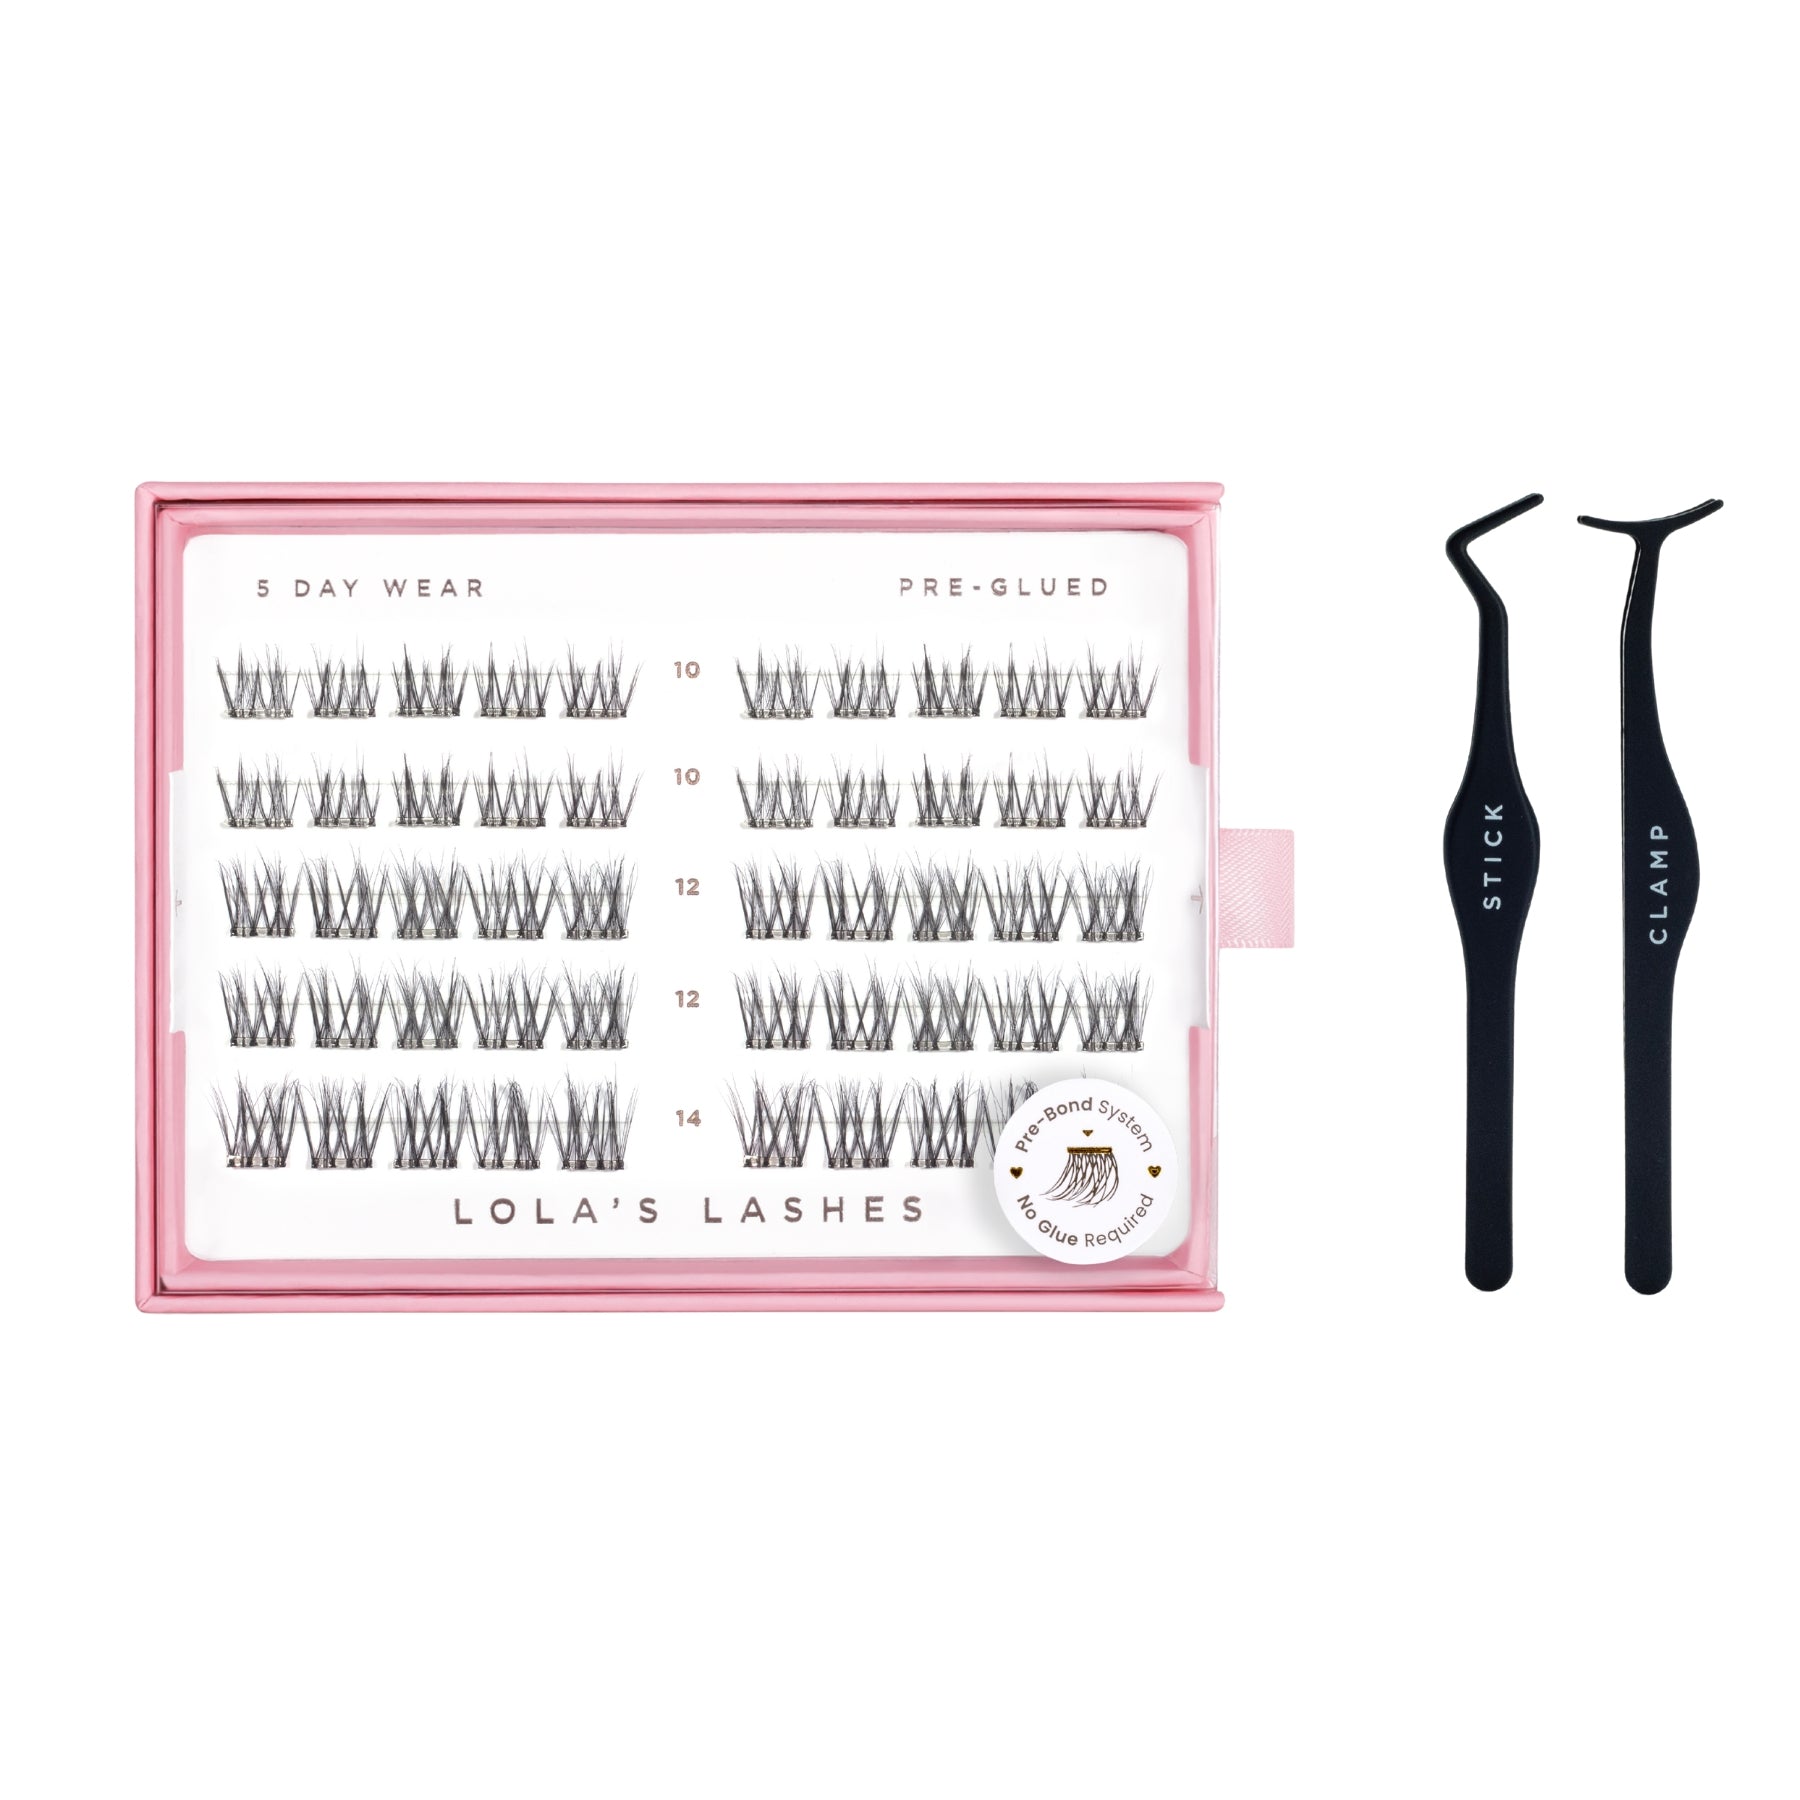
False eyelashes have come a long way and are now super beginner-friendly. We’ll focus on pre-glued fake lashes here because they’re the easiest to use. These lashes come with the glue already on, so no sticky mess! You won't need a makeup artist or lash tech in your life anymore!
Here’s what you’ll learn:
- How to get ready before applying
- How to put your lashes on properly
- How to look after them
- How to make them last longer
Follow these steps and you’ll soon be a false lash whizz, getting a natural look that lasts, just like the pros do. Let’s get started!
Step 1: Gather your Tools
Before you start sticking on your lashes, make sure you have everything you need. Having the right tools makes the whole thing much easier and quicker.
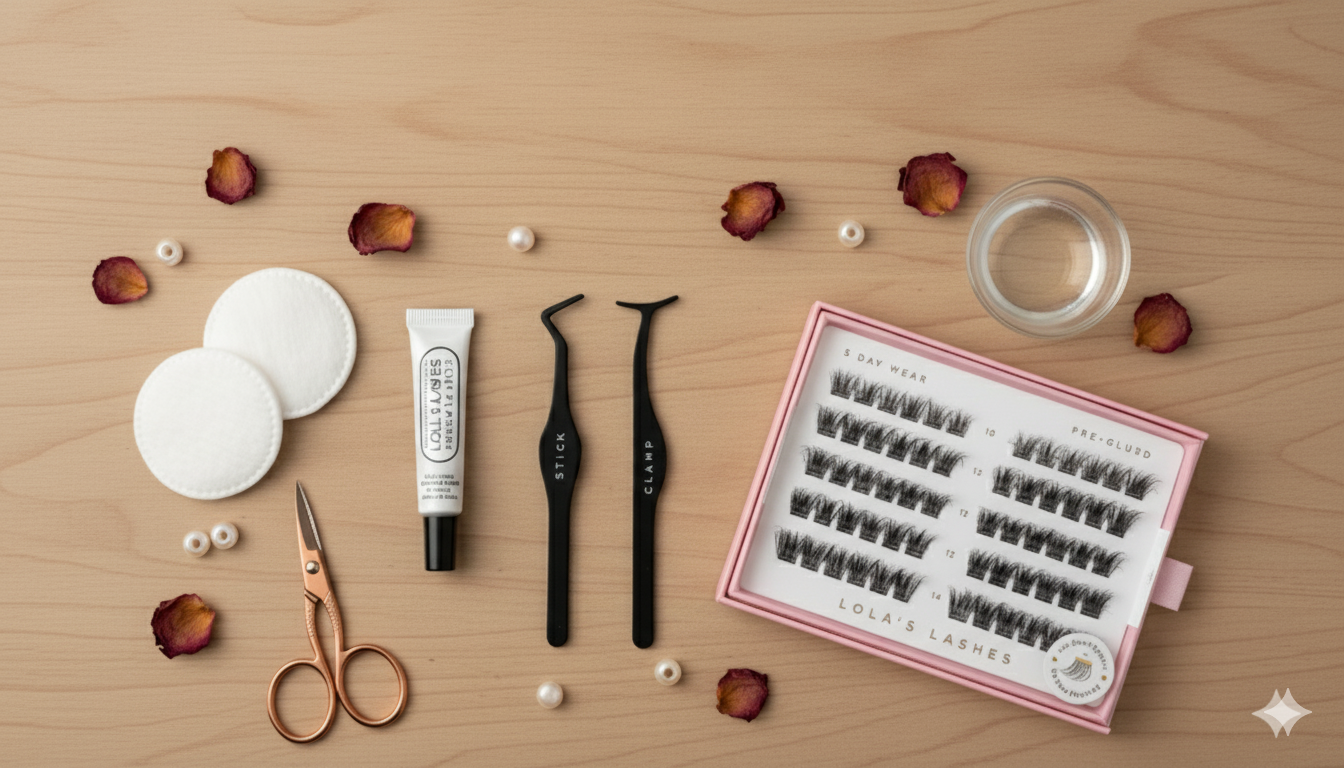
For applying cluster lashes, you’ll need:
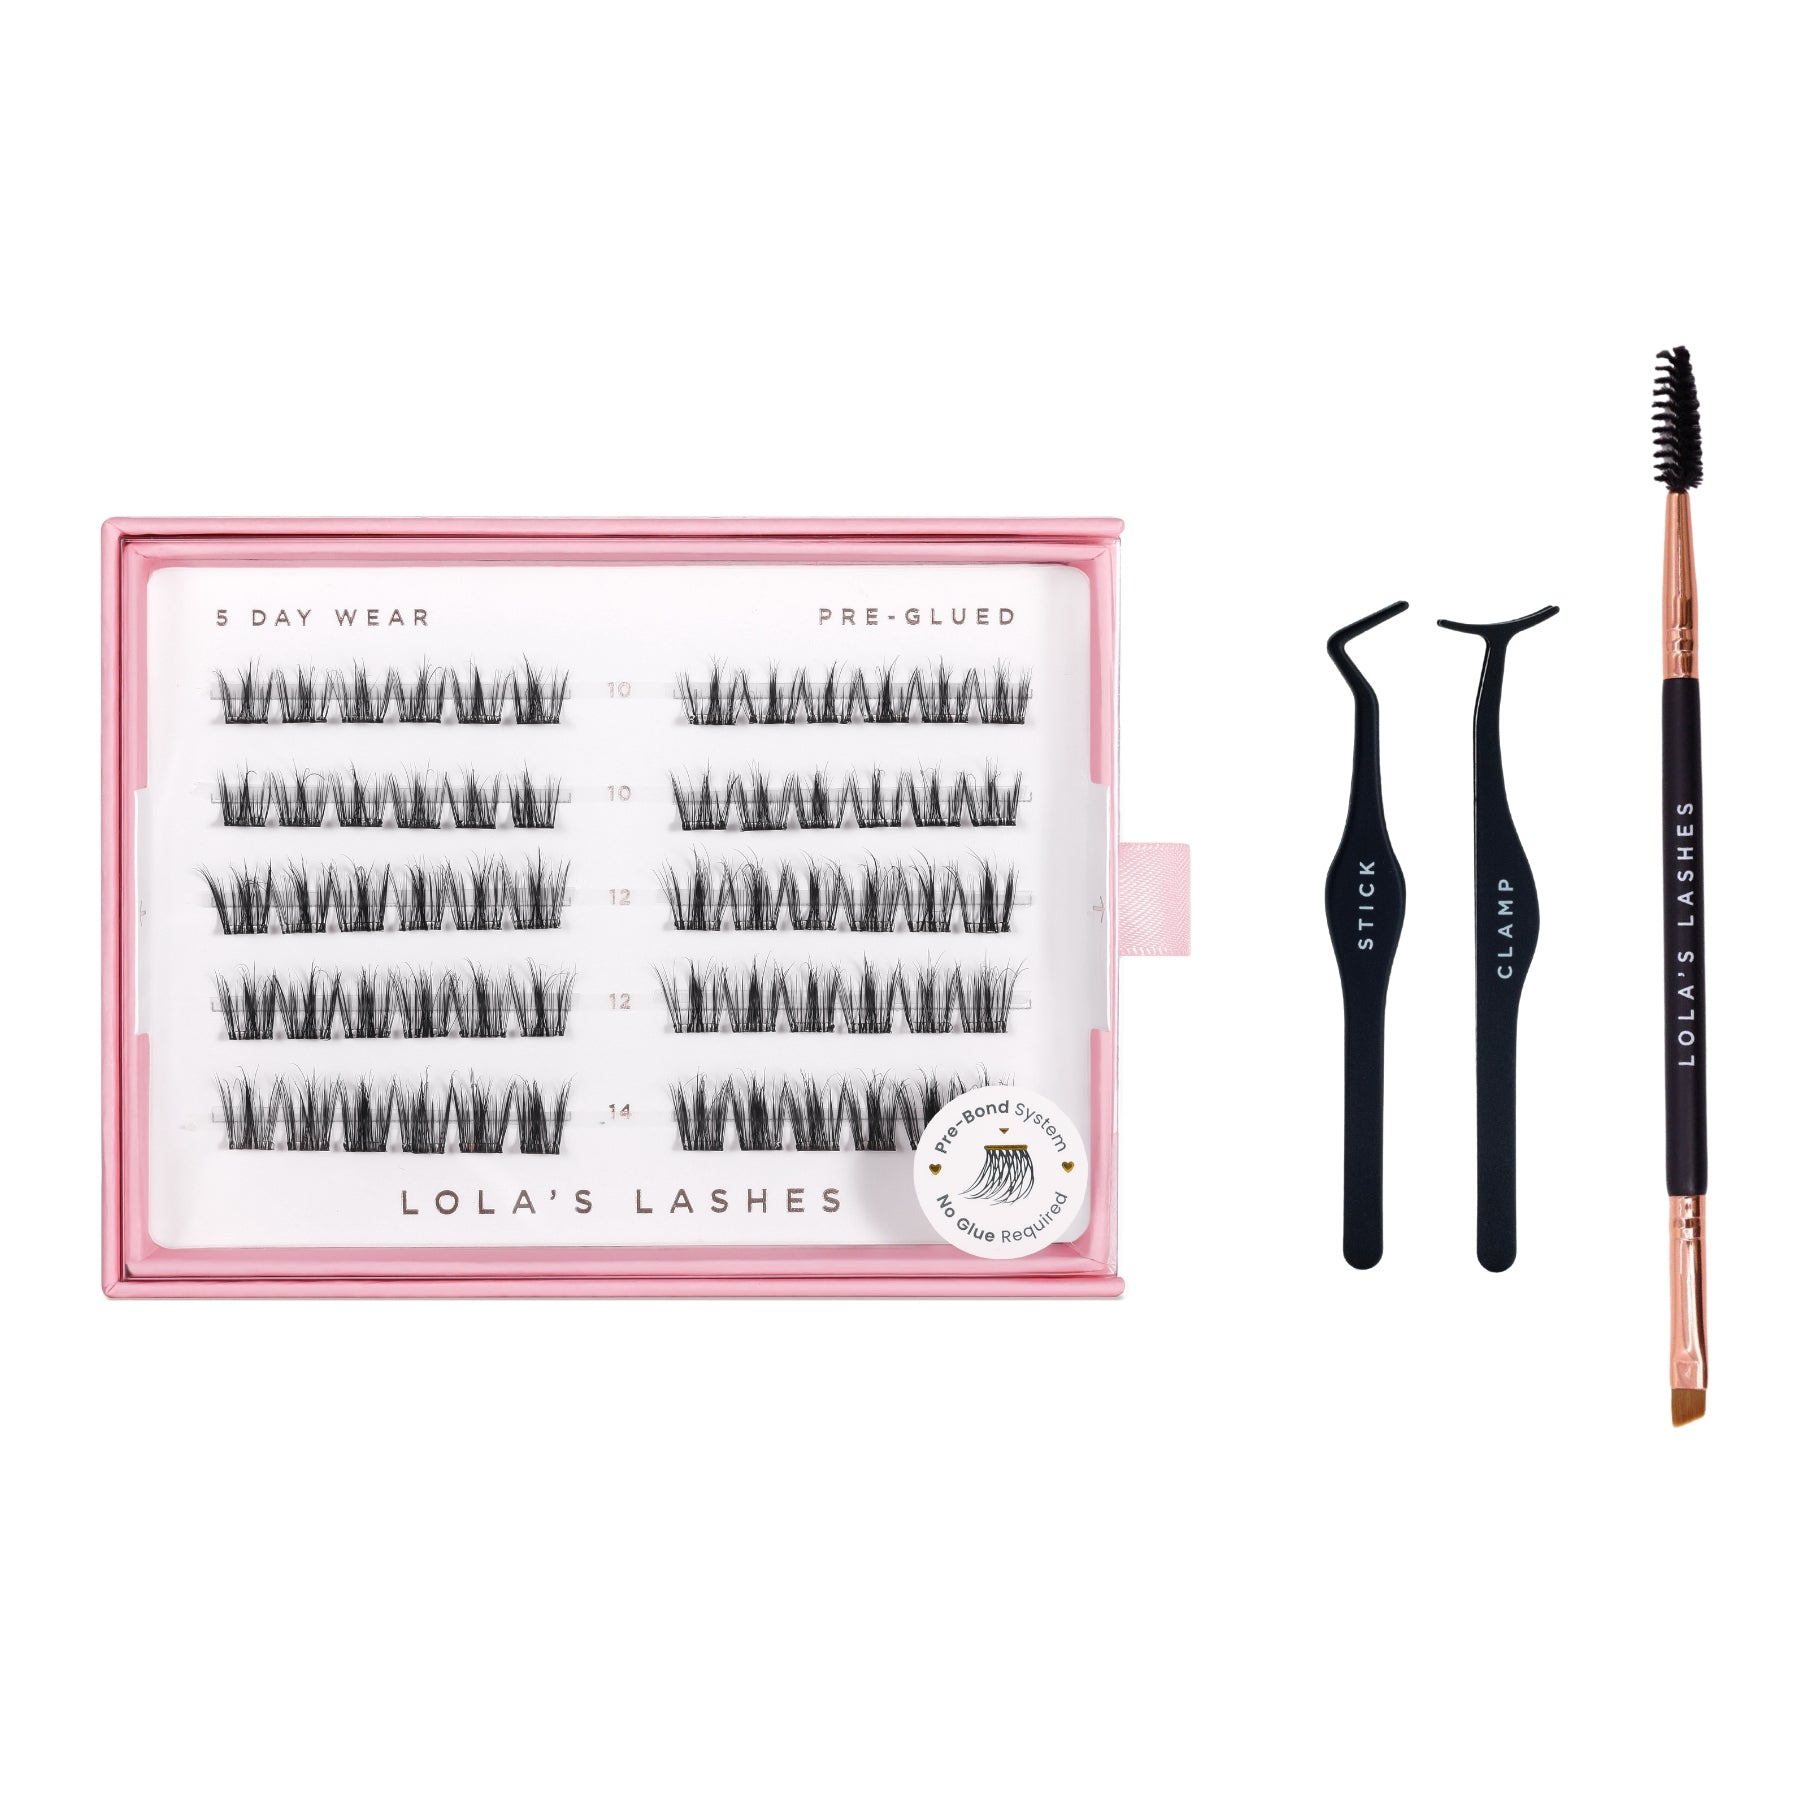
- A set of pre-glued cluster lashes – perfect for beginners since the glue is already on
- A hand mirror to get a close-up look and place your lashes just right
- A Lash Applicator to help you handle and position the lashes precisely
Keep a cotton swab nearby to fix any mistakes or clean up extra glue. Having these tools ready will make your application smooth and accurate. Using good quality tools really helps, so don’t skimp!
Now that you’re all set, let’s get your natural lashes ready.
Step 2: Prepare your natural lashes
Getting your own lashes ready is super important for a flawless, natural-looking result. A clean base means the glue will stick better and your false lashes will last longer.
Start by cleaning around your eyes. Use a cotton pad to wipe away any leftover makeup or oil on your eyelids and lashes. This creates the perfect surface for the lash glue to stick to.
Don’t put on mascara before applying false lashes—it can stop the glue from working properly.
Also, avoid using eye creams, moisturisers, or sunscreens beforehand, especially if they contain oils. Oils can break down the glue and make your lashes fall off sooner.
Once your false lashes are on, you can continue your skincare routine, just be careful not to rub the lash line or allow the lashes to come into direct contact with oily liquids.
For a more natural blend and a little lift, gently curl your natural lashes before applying the pre-glued fake ones. Now you’re ready to stick those lashes on!
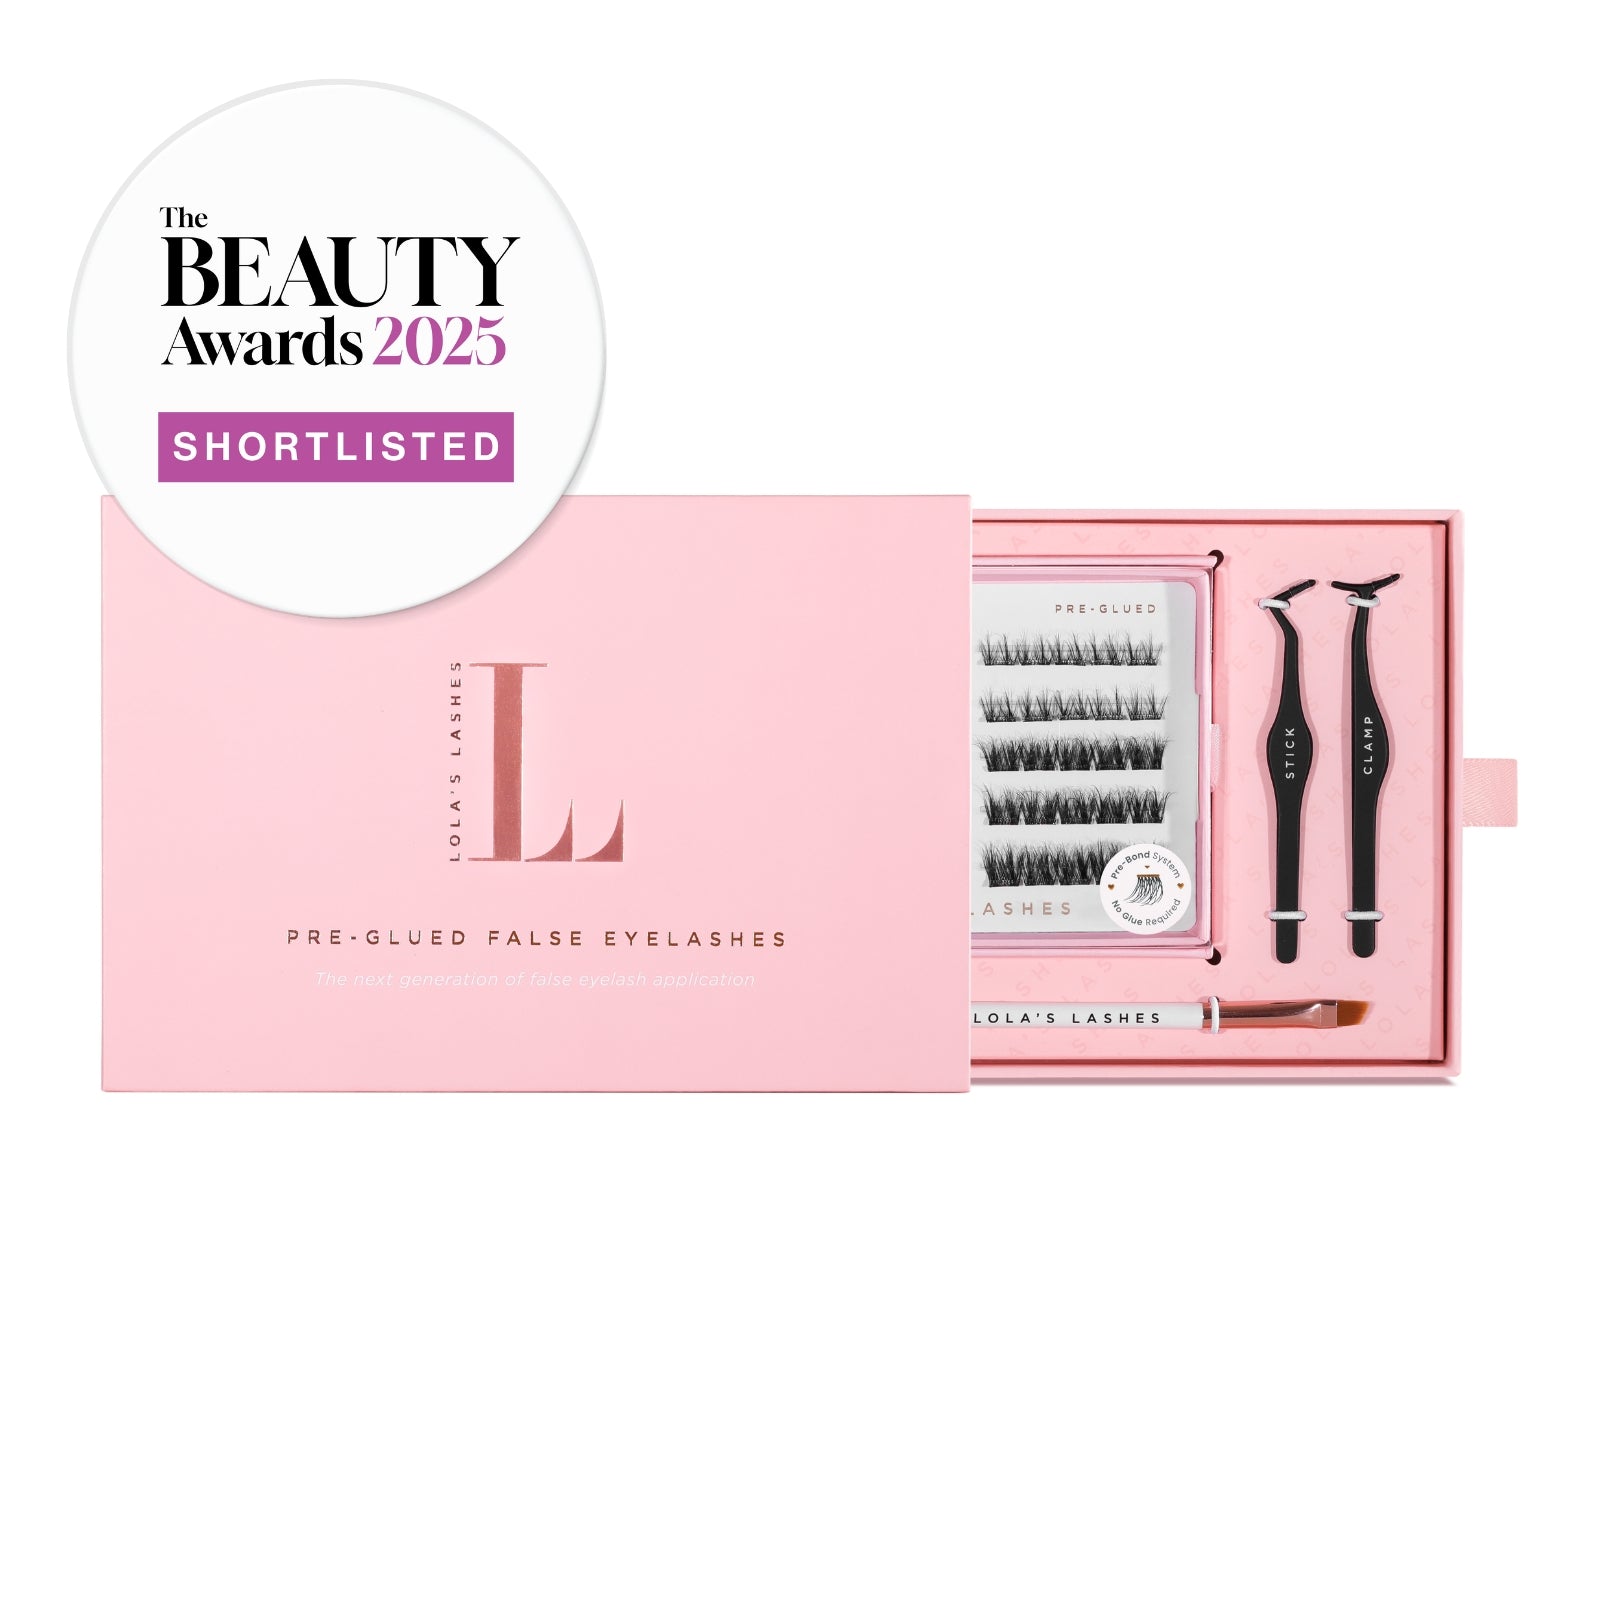
Shop Beginner Friendly Pre-Glued Lashes


Step 3: Apply Pre-Glued Lashes (Great for Beginners)
Pre-glued lashes make applying false eyelashes a breeze, especially if you’re new to it. No need to mess about with separate lash glue! Here’s how to do it.
Use a lash applicator or tweezers to place each pre-glued cluster just below your natural lashes. Keep about a 1mm gap from your waterline to avoid any irritation.
Start at the outer corner of your eye and work your way in towards the inner corner.
Here are some handy tips to make it even easier:
- Wipe off any glue build-up on your applicator after each cluster
- Use one hand to gently lift your eyelid while you stick the lashes on
- Look down into a mirror to get a better view of where you’re placing the lashes
Overlap the edges of the clusters slightly for a smooth, continuous look that blends well with your natural lashes. With your pre-glued lashes in place, you’re almost done!
Step 4: Secure Your Lashes
Once your lashes are on, it’s important to make sure they’re stuck firmly.
To do this:
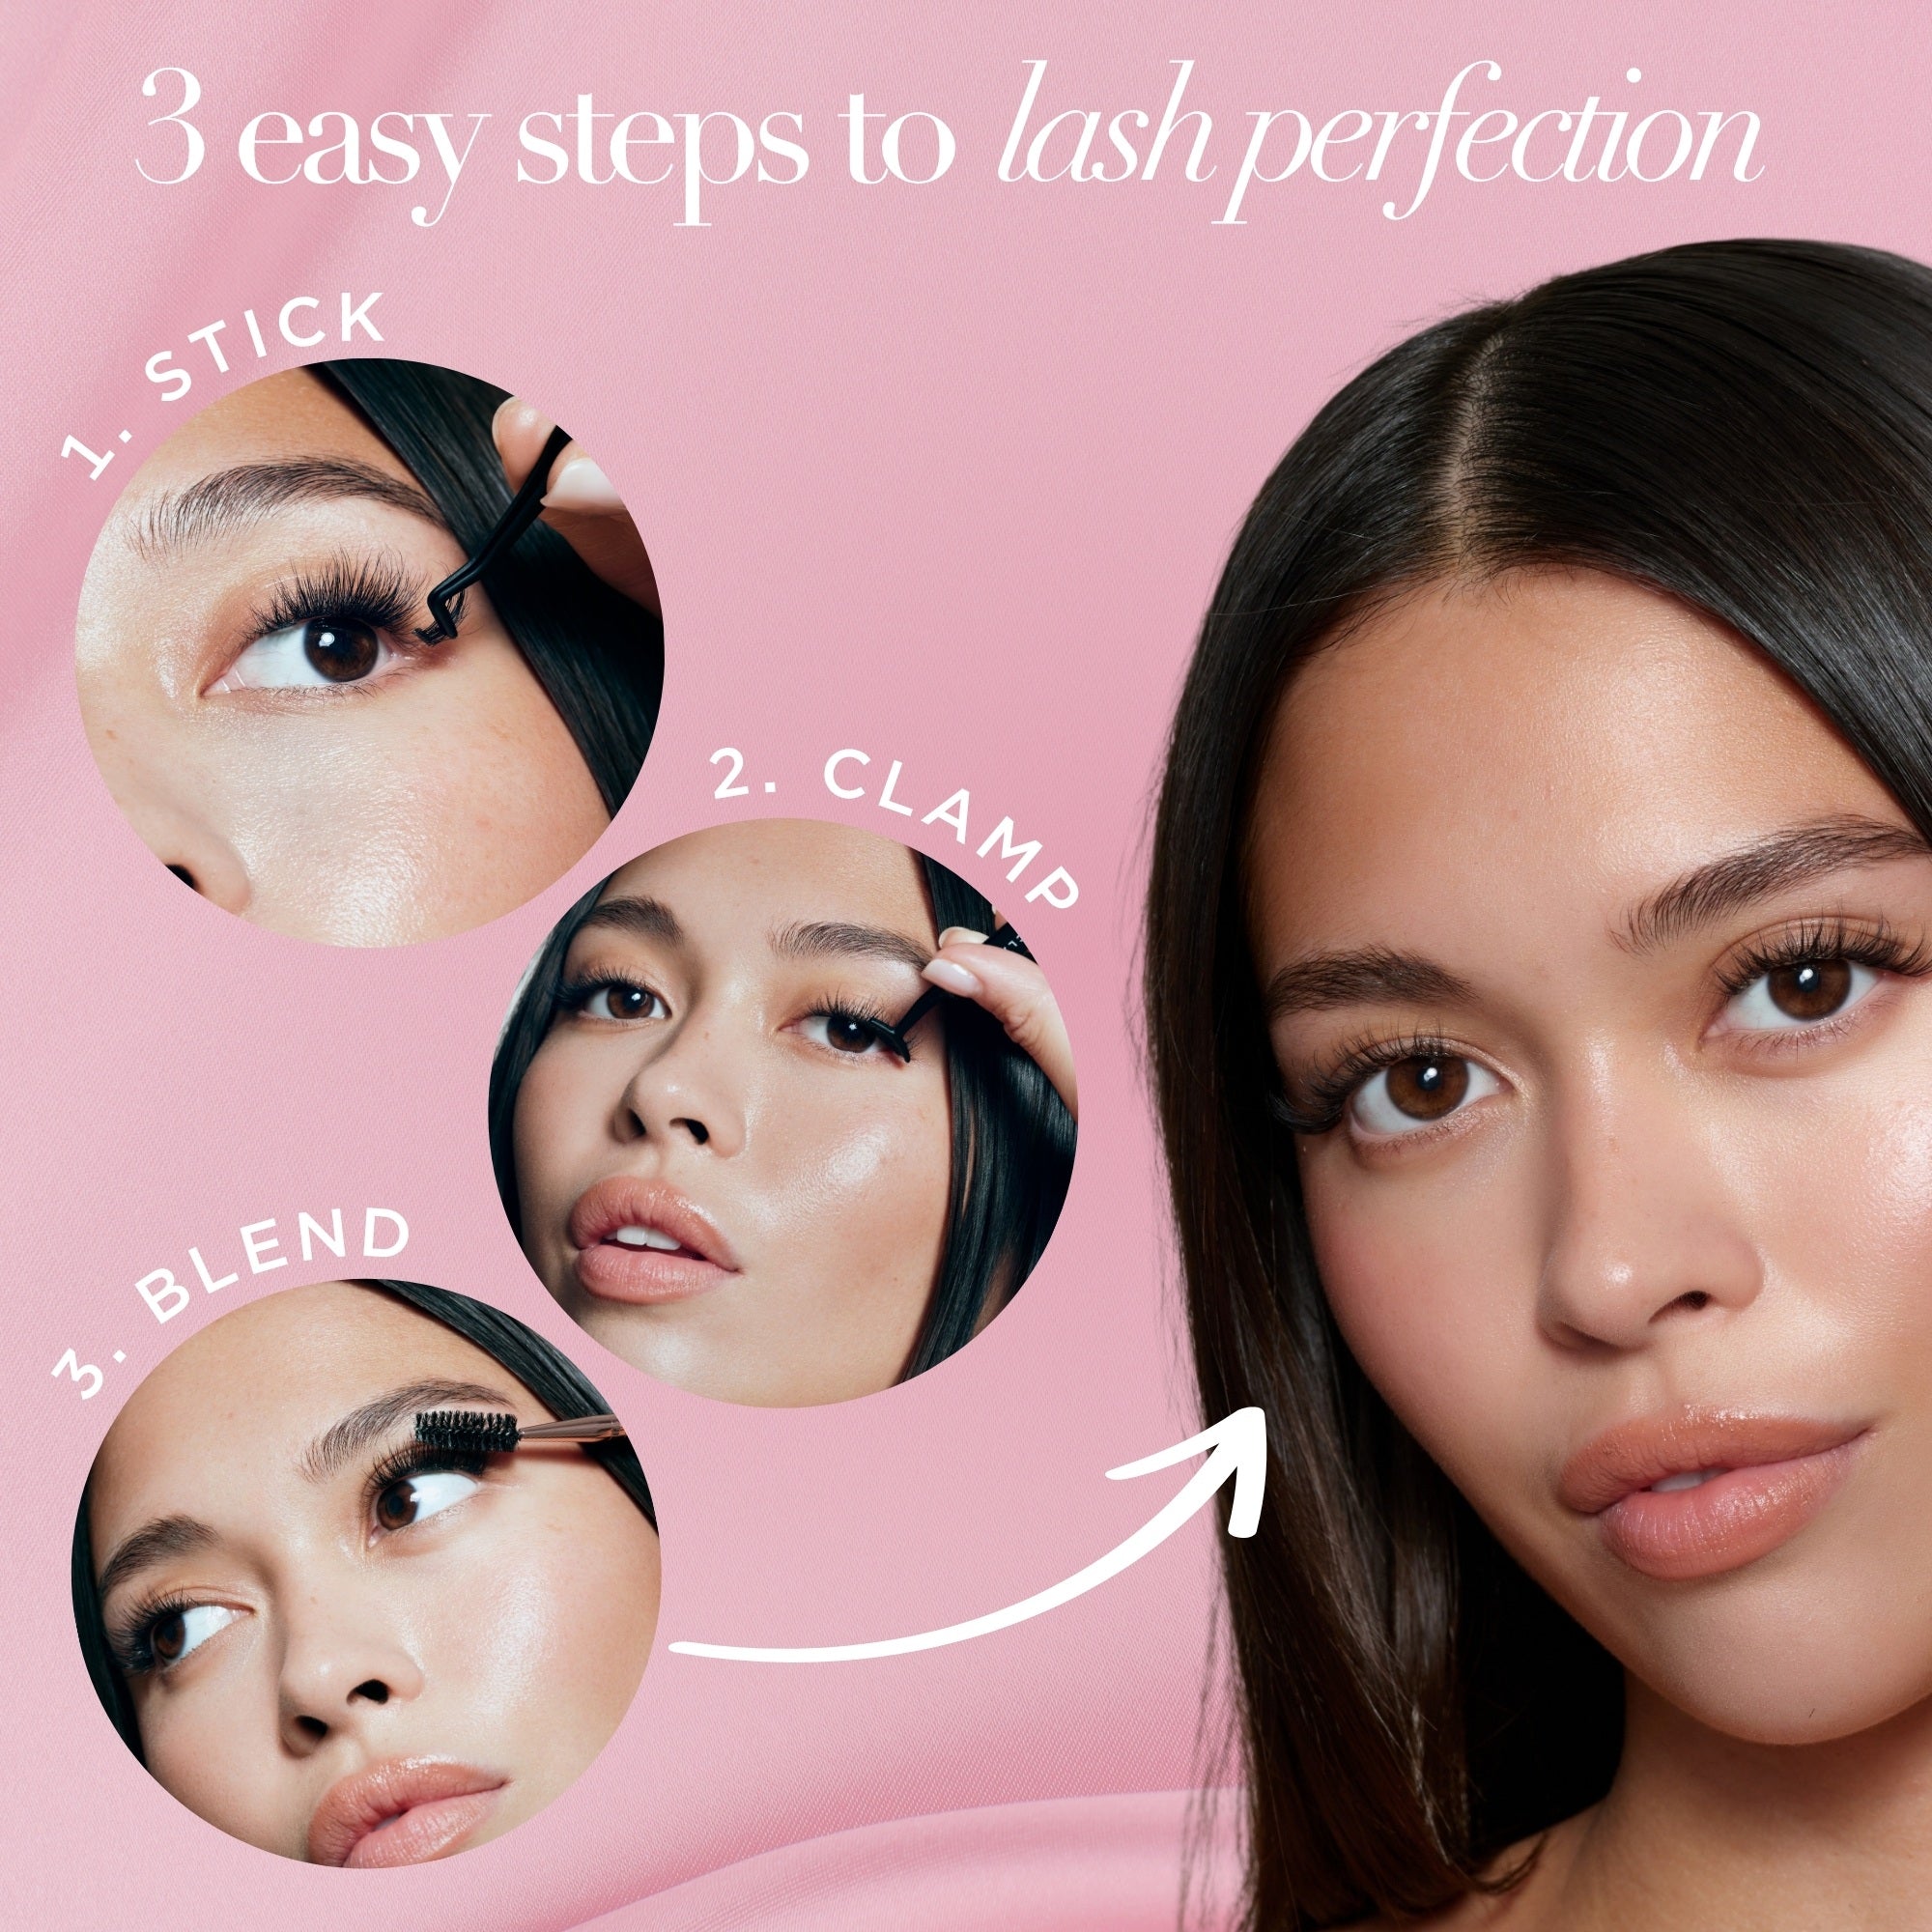
- Gently press your false lashes and natural lashes together using your fingers or a tool to help the glue bond and create a seamless look.
- Use your applicator or clamping tool to carefully press down along your lash line, making sure the lashes stick closely.
- Adjust them if needed so they sit comfortably and look just right.
If any clusters come loose during the day, don’t panic—the glue stays sticky so you can press them back on easily. Pressing your lashes down gently a couple of times during the day can help them stay put longer.
Now you can enjoy your gorgeous lashes all day long!
Step 5: Aftercare & How to Make Your Lashes Last
Looking after your false lashes properly will keep them looking fab and help them last longer.
To blend your fake and natural lashes smoothly, use an oil-free mascara or a spoolie brush. Just remember, using mascara on your false lashes can shorten their lifespan.
Avoid water and steam for 24 to 48 hours after applying your lashes so the glue can set properly.
To keep your lashes in top shape:
- Clamp gently on your fake lashes every morning to keep them secure
- Avoid skincare products that touch your lashes, especially those with oils that can weaken the glue
- If your lashes feel sticky, try dabbing a bit of setting powder on top to help fix it
Follow these simple tips and your lashes will stay stunning for longer!
Step 6: Removing Your Lashes Safely
Taking your lashes off properly is just as important as putting them on. It keeps your natural lashes healthy.
To remove pre-glued cluster lashes:
- Start at the outer corner and gently peel them off
- Don’t pull or yank to avoid damaging your real lashes
- Use an oil-based makeup remover to get rid of any leftover glue
This way, your natural lashes stay safe.
Need help?
Frequently Asked Questions
Pre-glued lashes are the easiest type for beginners because they require no glue, reduce mess, and offer a quick, fuss-free application.
Clean your eye area thoroughly, avoid oily products, skip mascara, and gently curl your natural lashes for the best results.
Apply each lash cluster just below your natural lash line, starting from the outer corner and working inwards, leaving a small gap from the waterline.
Pre-glued lashes can last up to 14 days with proper care. We typically suggest wearing them for 5-10 days however. Avoid direct contact with water, steam, and oil-based products to extend their wear time.
Gently peel from the outer corner and use an oil-based remover to dissolve leftover glue without damaging your natural lashes.